
Easy Acrylic Landscape Painting for Beginners: A Step-by-Step Guide
Introduction: Why Start with Acrylic Landscapes?
Taking your first steps into landscape painting doesn’t have to be overwhelming. Acrylic paint is fast-drying, forgiving, and incredibly versatile—making it the ideal medium for beginner artists wanting to capture the timeless beauty of countryside hills, soft skies, and gentle fields.
If you’ve ever stood in front of a blank canvas unsure of where to start, this beginner tutorial will walk you through building an atmospheric acrylic landscape painting step-by-step. By breaking the composition down into manageable layers, you’ll learn how to mix colours, blend realistic skies, and build depth with ease.
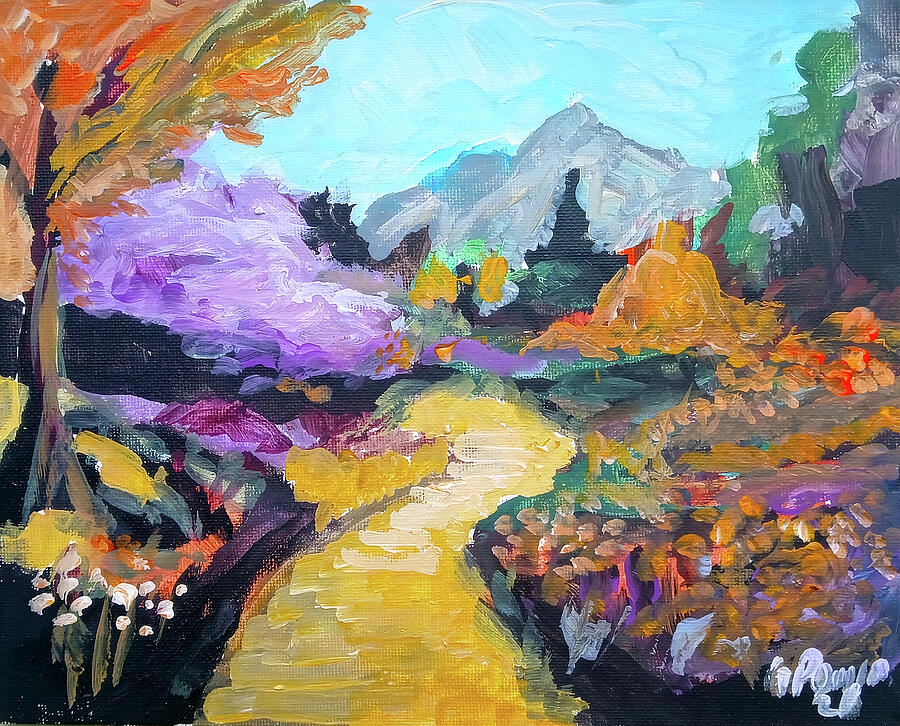
Essential Materials List for Beginners
Before mixing paint, gather these basic studio supplies. Keeping your setup simple prevents overwhelm and lets you focus entirely on your painting technique.
What You’ll Need:
-
Surface: Stretched canvas or heavy acrylic paper pad (9×12 inches is a great manageable size).
-
Acrylic Paints:
-
Titanium White
-
Ultramarine Blue
-
Yellow Ochre (or Cadmium Yellow)
-
Burnt Umber (Rich Brown)
-
Sap Green (or Viridian)
-
-
Brushes:
-
1-inch Flat Wash Brush (for large sky backgrounds)
-
Medium Filbert or Bright Brush (for clouds, hills, and landforms)
-
Small Round Detail Brush (for distant trees and highlights)
-
-
Palette & Knife: Flat plastic/paper palette and a basic stainless steel palette knife for mixing.
-
Extras: Jar of clean water, paper towels, and painter’s tape (optional for crisp borders).
Step-by-Step Acrylic Landscape Tutorial
Step 01: Tonal Underpainting & Composition Grid
Start by thinning a small amount of Burnt Umber paint with water. Use your detail brush to loosely sketch the horizon line about one-third of the way up the canvas (following the Rule of Thirds). Block out gentle distant hills and foreground slopes. This quick underpainting acts as a blueprint for your layout without overwhelming you with details.
Step 02: Blending a Soft, Graded Sky
Using your 1-inch flat wash brush, mix Ultramarine Blue with Titanium White for the top of the sky. Work in smooth horizontal strokes across the canvas. As you paint downward toward the horizon, add more Titanium White to create atmospheric perspective. The lighter tone near the horizon line immediately adds depth to your scene.
Step 03: Blocking in Distant Hills & Atmospheric Depth
In landscape art, distant objects appear cooler, paler, and less detailed due to atmospheric mist. Mix Ultramarine Blue, Titanium White, and a tiny touch of Burnt Umber to create a soft muted blue-grey. Use your medium filbert brush to paint the distant rolling hills along the horizon.
Step 04: Layering the Foreground Fields & Meadows
As landscape elements move closer to the viewer, colors become warmer, darker, and more vibrant. Mix Sap Green, Yellow Ochre, and a touch of Burnt Umber for a rich natural meadow green. Paint the foreground and midground slopes using sweeping diagonal strokes to establish terrain contour.
Step 05: Adding Tree Silhouettes & Fine Highlights
Switch to your small detail brush. Mix a dark woodland green (Sap Green + Burnt Umber + Ultramarine Blue) to dab tree clusters along the hill ridges. Finally, mix Titanium White with Yellow Ochre to lightly catch the sunlight on top of fields and tree canopy tops.
Beginner Painting Tip: Controlling Dry Time
Acrylic paints dry quickly. Keep a small fine-mist water spray bottle handy to lightly mist your palette so your paint stays workable while blending skies and field gradients.
Finishing Touches & Protecting Your Artwork
Allow your acrylic landscape painting to dry completely for 1 to 2 hours. Once dry, examine your piece from a few feet away to check colour balance and light accents. If desired, apply a clear acrylic satin varnish coat to protect the paint layer and enrich colour depth for display.

Comments (0)